WEDDING DAY GUIDE
Timeline Tips
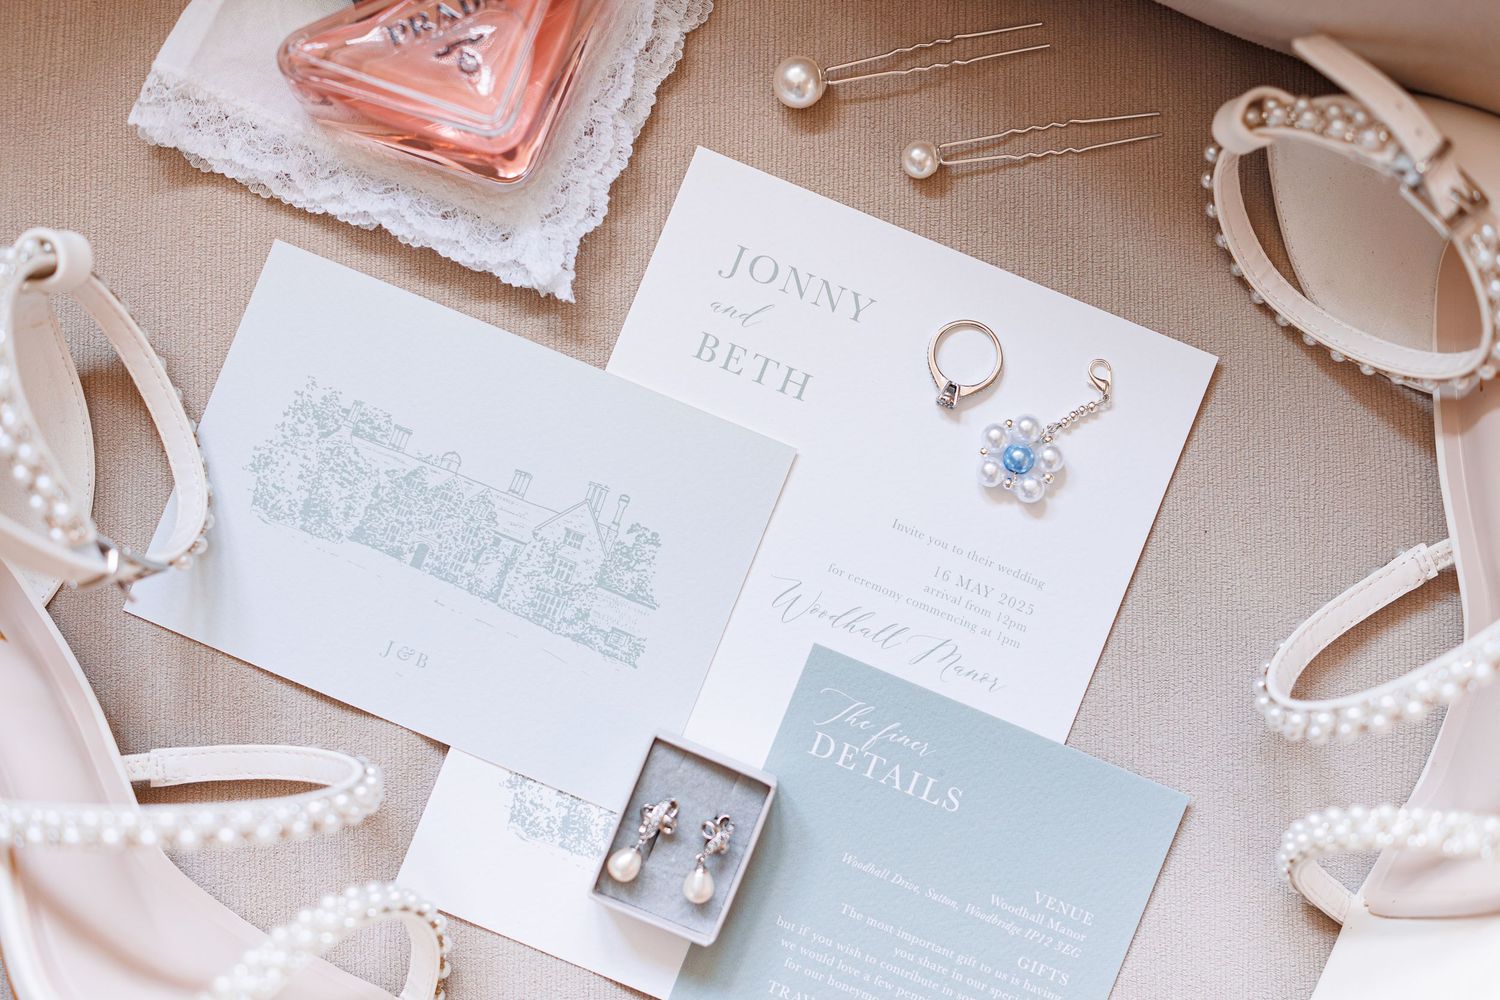
Have Your Details Organised
I like to start the day with capturing all the little details so having these together for when I arrive saves me interrupting you while getting ready. These details might look different for both of you but often include: your dress/suit, veil, a spare wedding invite/save the date (this really levels up your flat-lay photos), jewellery, perfume/aftershave, hair pieces, bouquet/buttonhole, sentimental charms/cufflinks, engagement/wedding rings, garter, shoes, pocket square/tie, watch and any other little bits you want to add. Make yourself a little checklist so you don't forget anything.
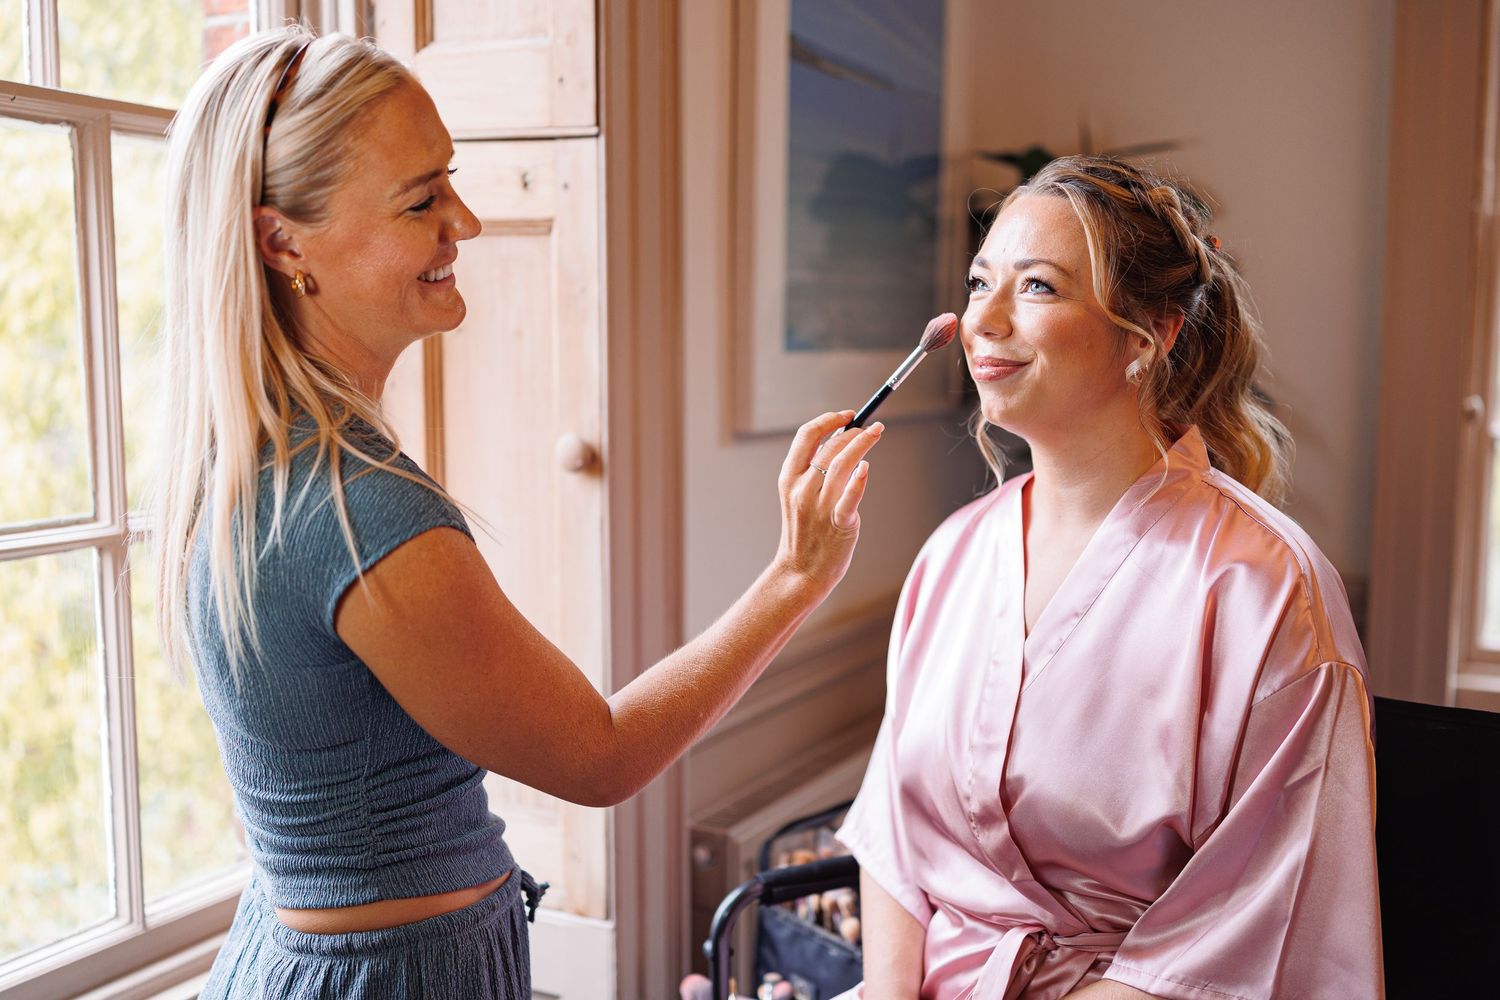
Keep Clothing & Background Neutral
Matching gowns or pyjamas can really elevate the look of your morning photos (if they're ironed!), but don't feel pressurised into having everything personalised, plain is absolutely fine. If you opt for people wearing their own clothes, just ensure you tell them to wear something loose and neutral, avoiding things like stripes, patterns or bold colours (unless it's your wedding colours). The background of your photos can also have a huge impact - you don't want beautiful photos ruined by lots of "stuff" in the background. When first entering the room, dedicate a 'clutter corner' away from where photos will be happening and make everyone aware. Bonus points if there's a wardrobe or cupboard to cram it all into!
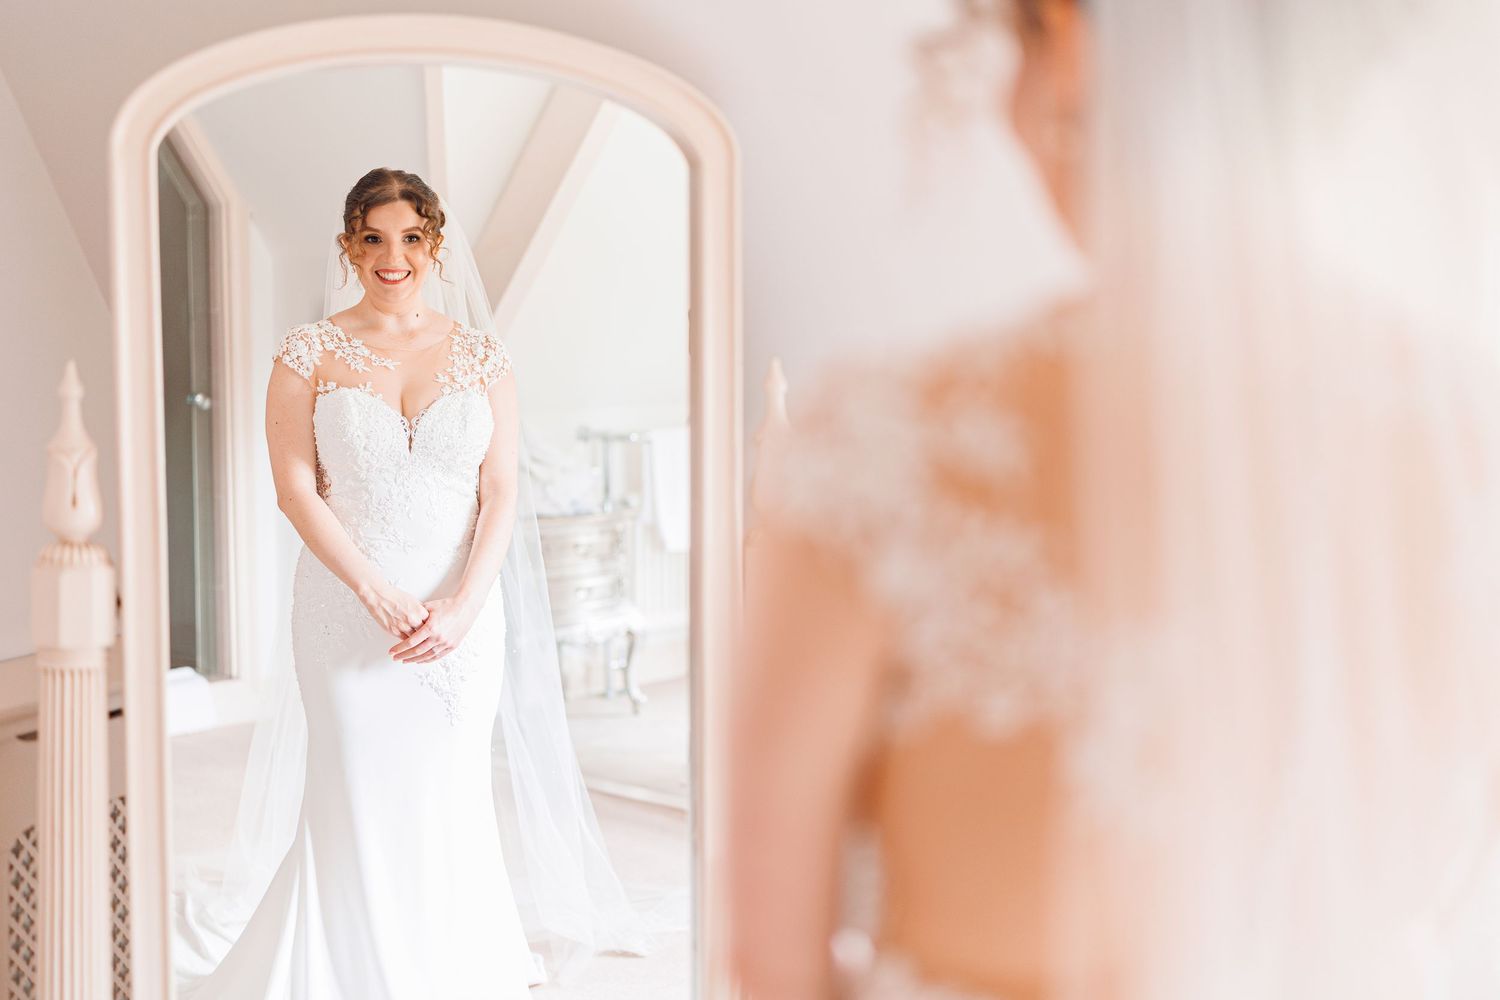
Be Ready 1 Hour Before Ceremony
This may sound really early but I promise you this is always the point where things overrun and suddenly your atmosphere could change from calm and excited to rushed and stressed - which is not the feeling you want when you're about to walk down the aisle! Make sure your hair and make-up schedule factors in this time. With you dressed an hour before the ceremony it means you'll have time for any last minute touch-ups, bridesmaid dress dramas, doing "first looks" with bridesmaids or family and are able to get some lovely photos before you walk down the aisle. Don't forget you'll need to see the registrars 15 minutes before your ceremony so suddenly that extra hour has disappeared in the blink of an eye! For your other half getting ready, it's best if they're ready around 1.5 hours before the ceremony so they have time for a few photos before greeting guests and seeing the registrars 30 minutes before the ceremony. For off-site prep locations or church weddings, these timings need to be even earlier due to the extra travel time involved.
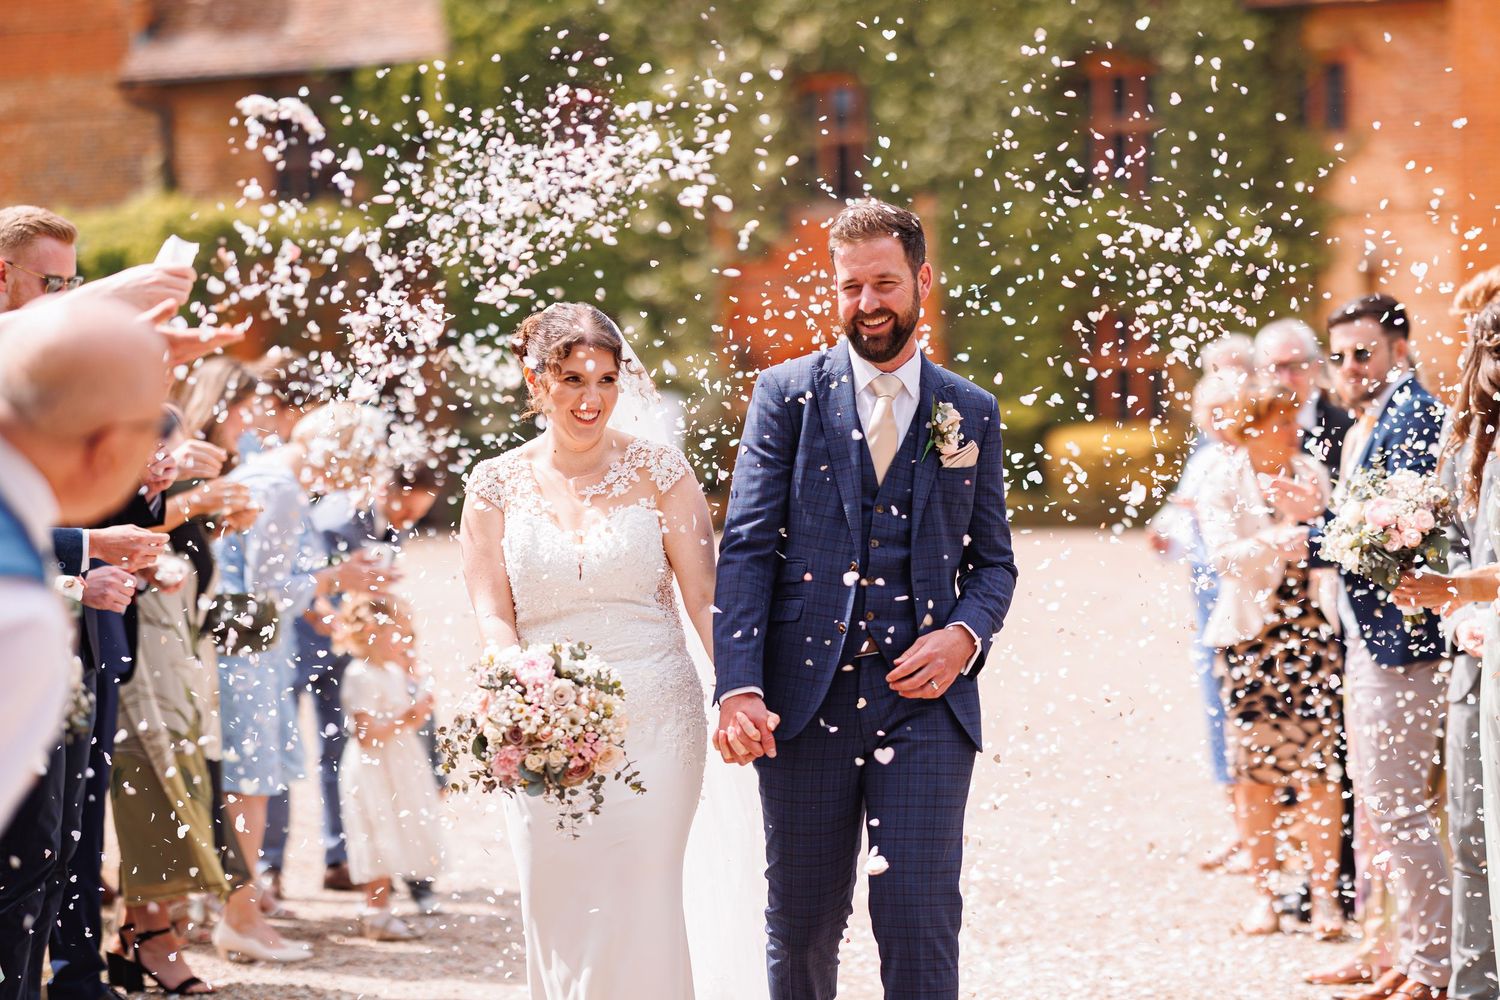
Confetti - More Is More!
Biodegradable paper confetti wins every time - it falls nicely in the air, doesn't cling to you and shows up well in photos. When picking a colour, try and think of what your background will be. White can look great against greenery but can get lost when against a lighter background like the sky, but really, you can't go wrong! One decent handful per guest is perfect. I strongly advise against using dried petals, especially ones that are small and bitty - they don't tend to show up well on camera and get into EVERY nook and cranny! They're a nightmare to try and pick off so you'll probably have bits in your hair for the rest of the day, not to mention feeling itchy and uncomfortable. If you aren't allowed paper then large petals are the way to go as they show up easier and won't get stuck anywhere they shouldn't - just make sure you get enough of them!
I've partnered with Flutter Darlings to offer my couples an exclusive 15% saving on confetti. Simply use code LAURALEA at checkout.
Consider Extending Your Drinks Reception
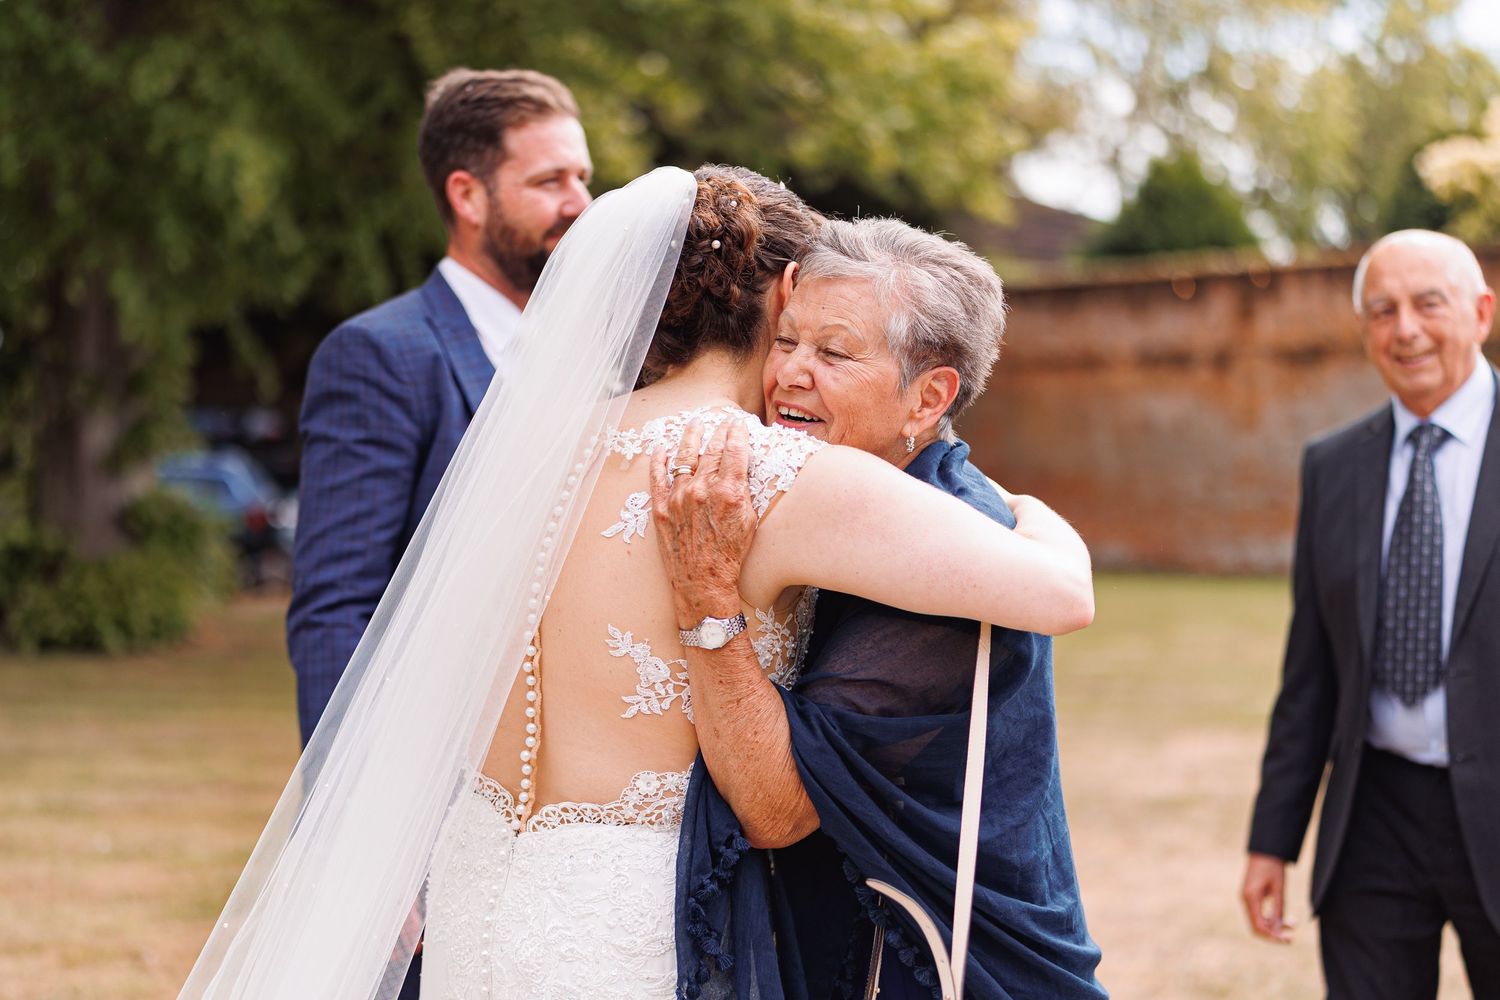
The drinks reception is often the most enjoyable part of the day and, ironically, the part that can feel the most rushed. It’s the first time you’re being greeted by your guests as newlyweds, the atmosphere is buzzing, and everyone is relaxed with a drink in hand. This when I capture those beautiful, natural candid moments like the hugs, laughter and interactions that really capture the essence of your day, so it’s definitely not a part of the day we want to cut short. At the same time, your drinks reception is the only window of opportunity for a lot of key photos to be taken and we want them to feel calm and enjoyable, not chaotic and rushed.
As a general guide, 1.5 hours should be considered the minimum. It’s worth double-checking what a 1.5 hour drinks reception actually means in practice, as some venues often call you in early to view the room setup and like get your guests seated early ready for speeches/food which can reduce a "1.5 hour drinks reception" down to an hour, so be sure to check that you get the full 1.5 hours, even if it means extending to 2 hours. This is especially important if you've got lots of guests, a large venue or are travelling from a church wedding. As long as guests are fed and watered then an extra half an hour won't hurt. Some venues will have a recommended timeline but don't be afraid to ask for adjustments - it's your day after all. If extending isn’t possible, don’t worry, it just means we’ll be a little more intentional with timing and priorities. But where you do have flexibility, adding extra time here is one of the best decisions you can make for both your experience and your photographs.
Keep Group Photos To A Minimum
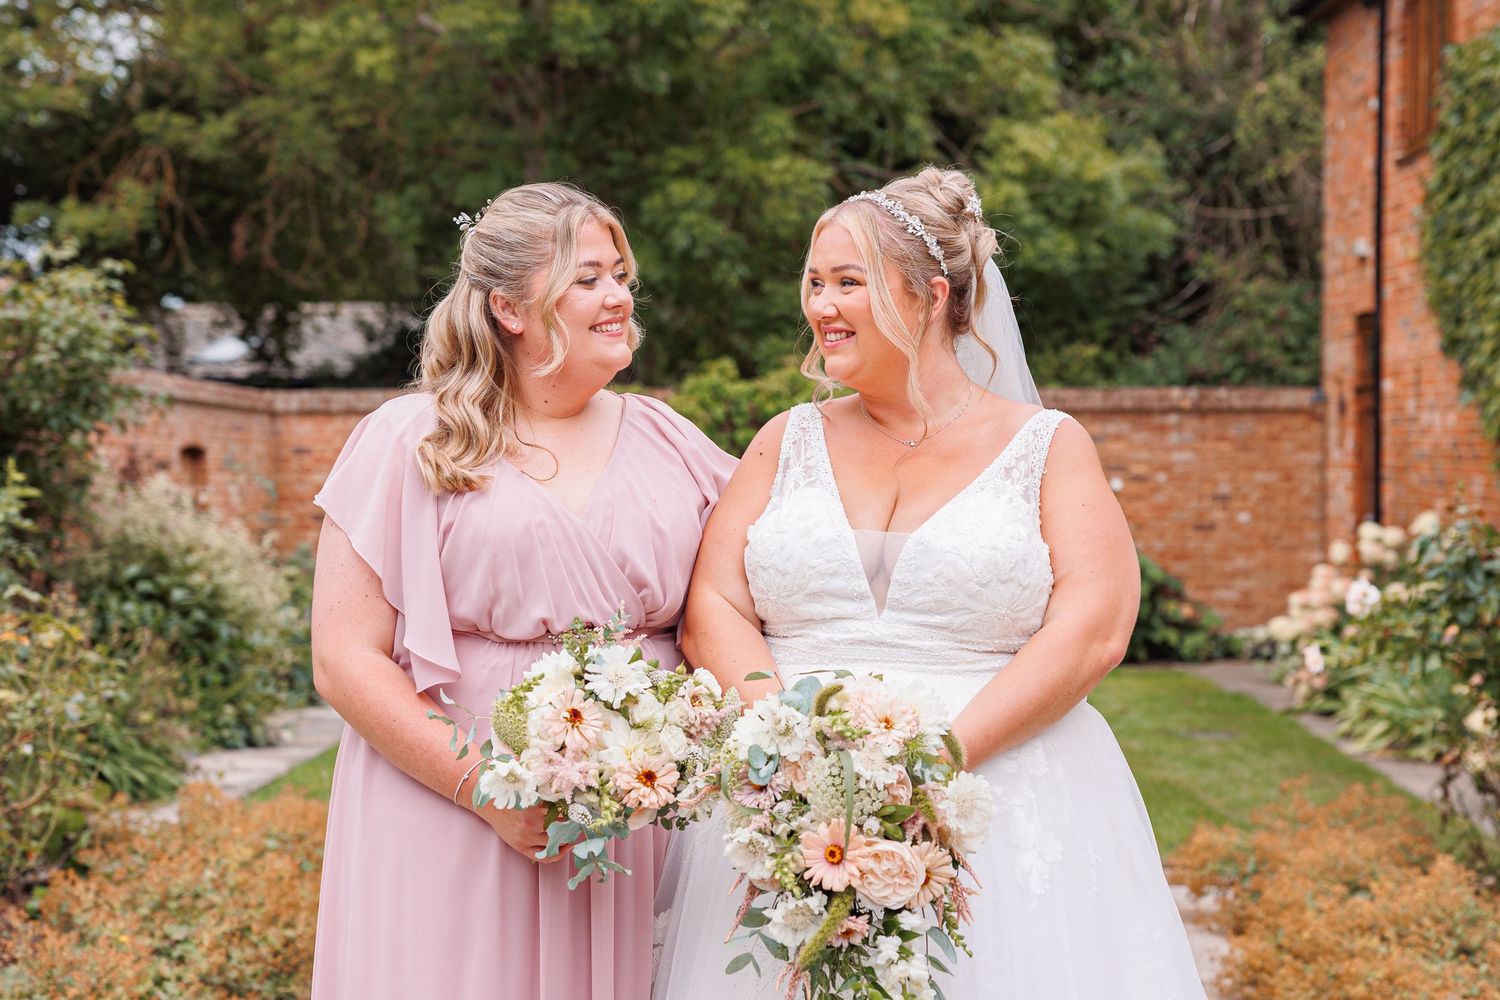
Your drinks reception time is precious, the last thing you want is to spend most of it standing in one spot having group photos taken. Don't get me wrong, family photos are incredibly important and such a special keepsake to have but I always recommend keeping them to parents, siblings, grandparents and wedding party members only. It can be tempting to include extended family and friends, but in reality the process can become quite lengthy and unenjoyable. A list of around 15 group shots can easily be filled up by different family combinations and bridesmaids/groomsmen and if each photo averaged 2 minutes to gather everyone, arrange them and take the shot, that’s roughly 30 minutes of your drinks reception gone! You can see how adding lots more group photos starts to become unrealistic so keeping them to a maximum of 15-20 combinations is best E.g. Bride with Mum, Bride with Dad, Bride with Mum & Dad. Obviously everyone's family dynamics are different so this list will look different for everyone but the key is keeping it small and intentional.
Be Mindful of Sunset Times
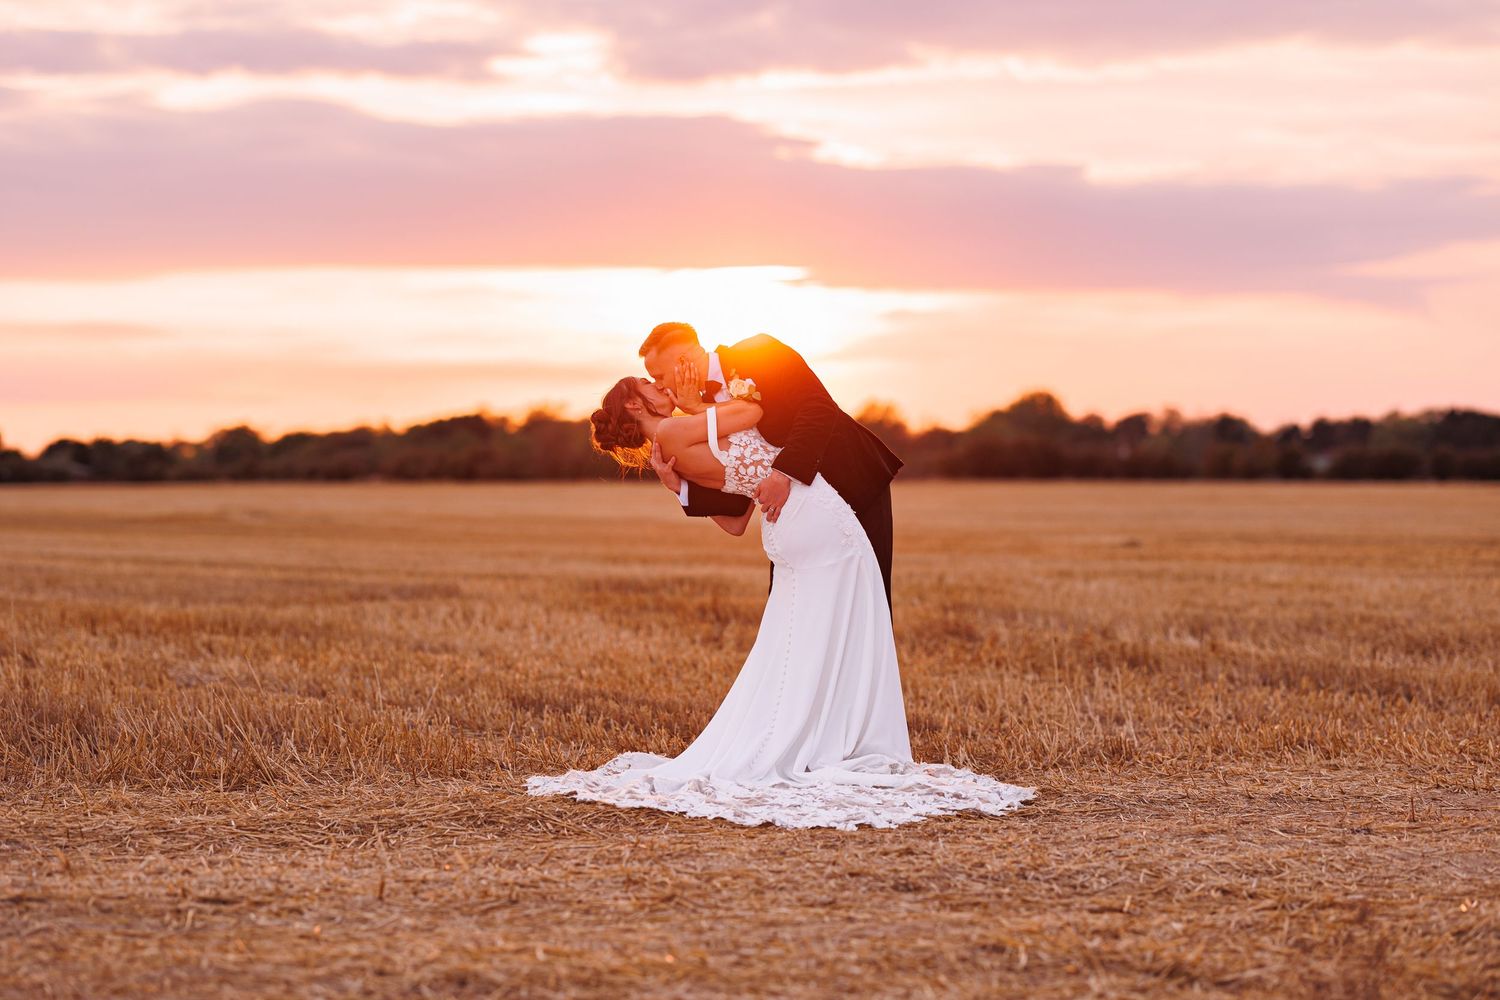
In the hour before sunset , a.k.a golden hour, is where (fingers crossed on the weather) we get to capture those beautiful, warm, glowy sunset photos of the two of you and are often the best photos of the day! If you're lucky enough to get a golden hour on your wedding day then we don't want to miss it but it can be difficult if things like your speeches or first dance are scheduled to be happening at the same time. You won't always be able to avoid scheduling things over golden hour but being mindful of it when planning can really help. Make sure you look up what time the sun is due to set on your exact wedding day as it can vary a lot between the start and end of each month especially as summer draws in. Try and allow some breathing space in the hour before this time.
Plan Sparklers As Early As Possible
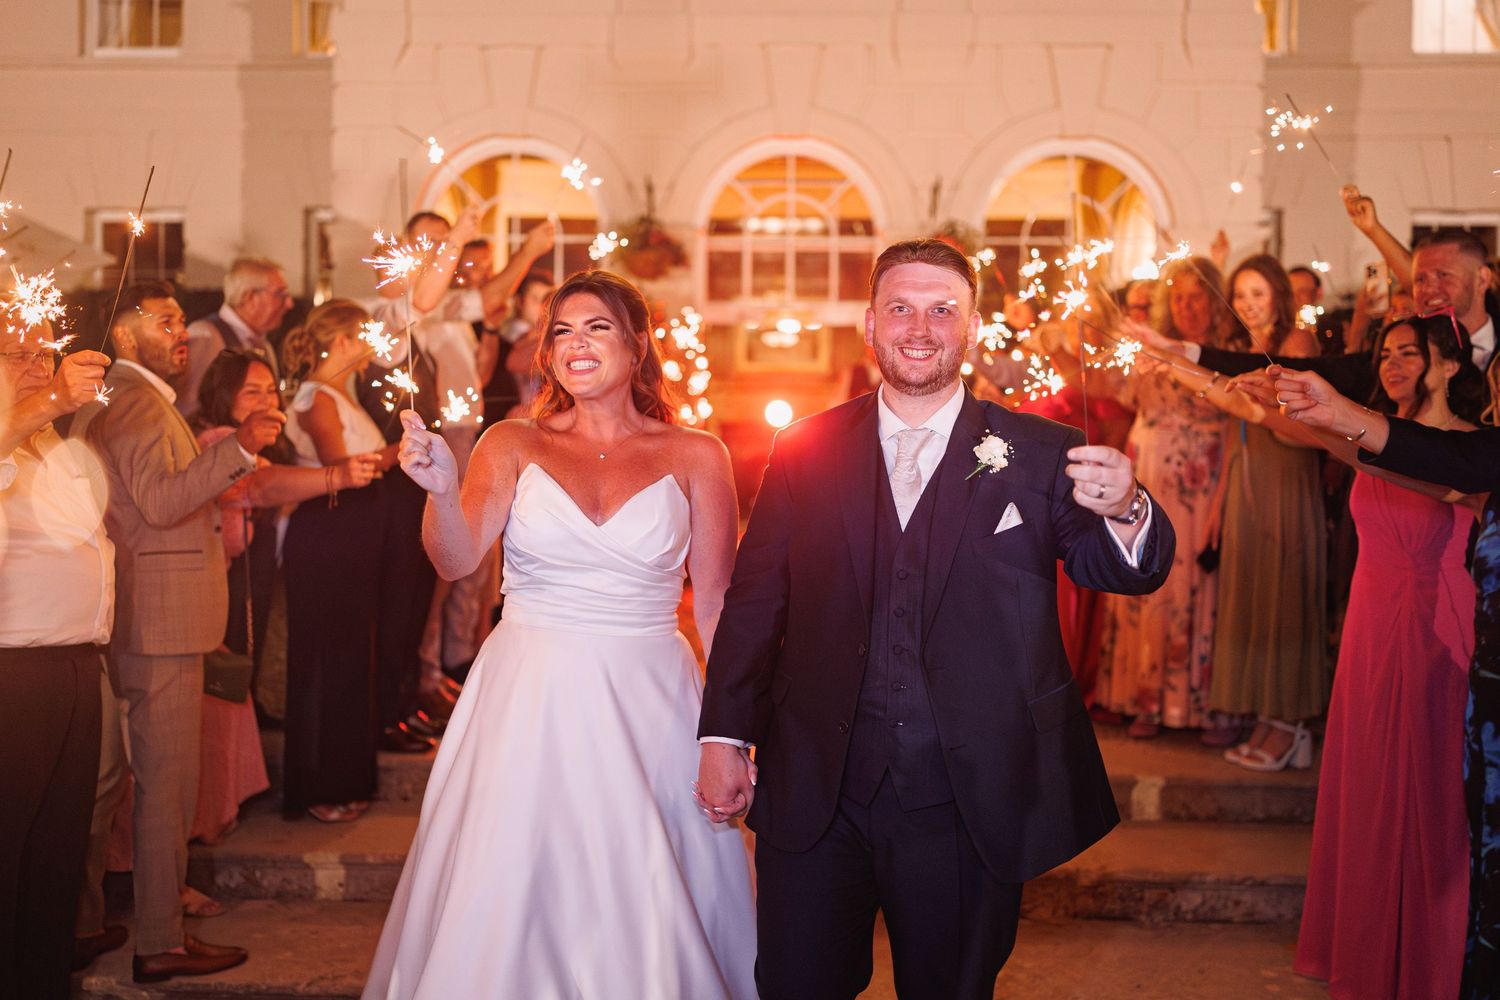
It’s a common misconception that sparklers only look good when it’s pitch black outside but dusk is actually the perfect time for sparkler photos. Dusk will vary depending on the time of year - if it’s getting dark before your cake cut/first dance, I highly recommend doing sparklers first and then flowing straight into your cake cut and first dance. This way everyone only needs to be gathered once and feels like a natural transition and keeps the energy high. Saving sparklers until after your cake cut/first dance will mean having to clear the dancefloor and move all your guest outside, which tends to stall the vibe. Obviously if it’s too light to do sparklers before your cake cut/first dance then don't worry, we'll work around it! In this case I would recommend doing sparklers later but before any evening food is served so that everyone’s around and happy to join in. Any later than that… well, drunk people + fire is never the best combo!
Start The Dancefloor Off Strong
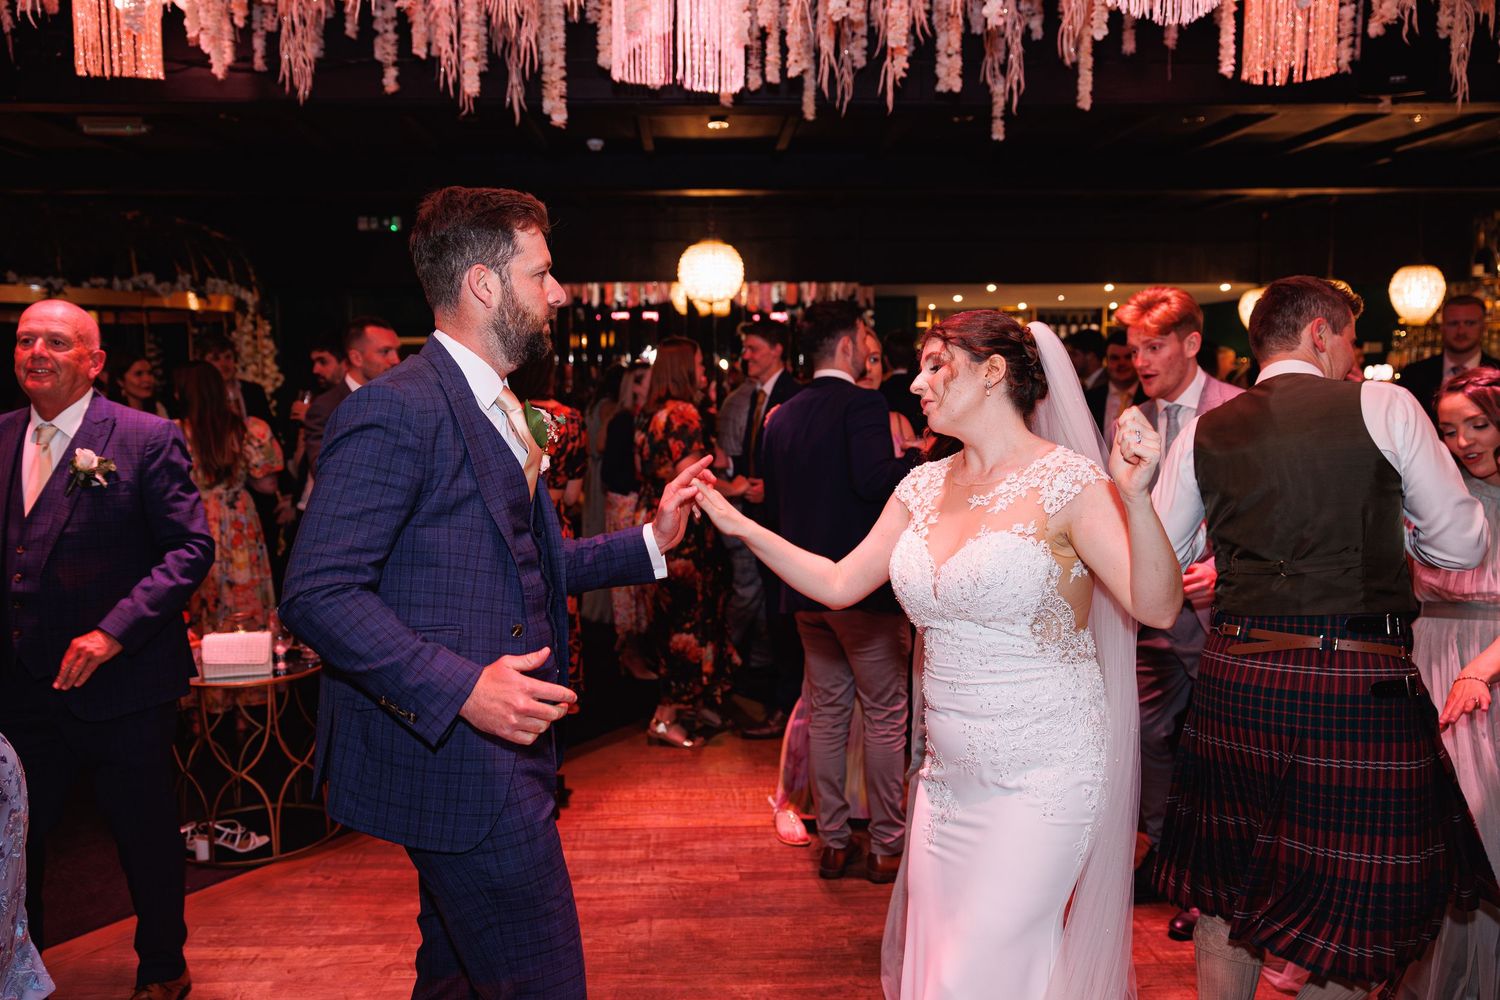
Line up a few of your favourite high-energy songs to play straight after your first dance to keep the momentum going and capture those fun, feel-good dancefloor photos. If you’ve got glow sticks or props, get them out while the energy is high to really level things up. Doing this all before any evening food is served means more guests on the dance floor, more energy, and even better photos.